My
little big girl is soon turning 5. FIVE years old!? Where has the time gone!?!?
H really wanted to choose her own cake this year and has landed on a princess castle cake. One problem... I don't make cakes and the one she wanted was like $150. YIKES!!
I had something like this in mind...
H wanted something more like this...
You all know me by now. Super cheap, but good quality {if you can get it super cheap} is the way to go. Soooooo... one of my BFF's sister lent me a castle cake kit she had. {HUGE thank you to NB for that!!} I know na-thing-a about cake making or decorating but another of my BFF's has made cakes for her kiddies in the past and agreed to help me! {WOOT, WOOT!} Here's the picture story of my cake making journey. {With a few comments here and there... Ok, ok maybe just a hint more than a few.}
 |
| Started out with 4 cakes. |
|
 |
| Iced the bottom so it would hold still while on the board, then iced the bottom cake, and top cake. |
 |
| I couldn't find a 6" round cake pan on such short notice {shout out to all the procrastinators!} so I used my juice jug to "trace" and out line and then cut it out with a butter knife. | | |
|
|
|
|
 |
| I have to be honest here and say the HARDEST part, was icing the cakes! I am {clearly} not talented when it comes to cake making, but H loves it all the same! {And it helps that this part of the cake is hidden behind turrets!} |
|
|
 |
| I used a Wilton Cake decorating kit and made the little stars around the tops. Then I forgot to take pictures for a while! |
|
|
 |
Here's the towers coming together. They are part of the Wilton Romantic Cake kit. They are PLASTIC!! {Cut the work by 75% I'd say. And they look pretty impressive when it's done! }My friend JJ was my partner in crime helper! We melted white chocolate discs and dipped the towers in it and placed it on the cake base to hold it into place. {Worked GREAT!} Then I took the icing and outlined the windows and the door. |
|
 |
| Time to add the tops of the towers! I used waffle ice cream cones and JJ iced them. Then we rolled them in decorators sugar! YUMMMM! |
 |
| I put more white melted chocolate in the tops of the turrets to hold the cones in place. Worked just like glue once it dried! |
|
 |
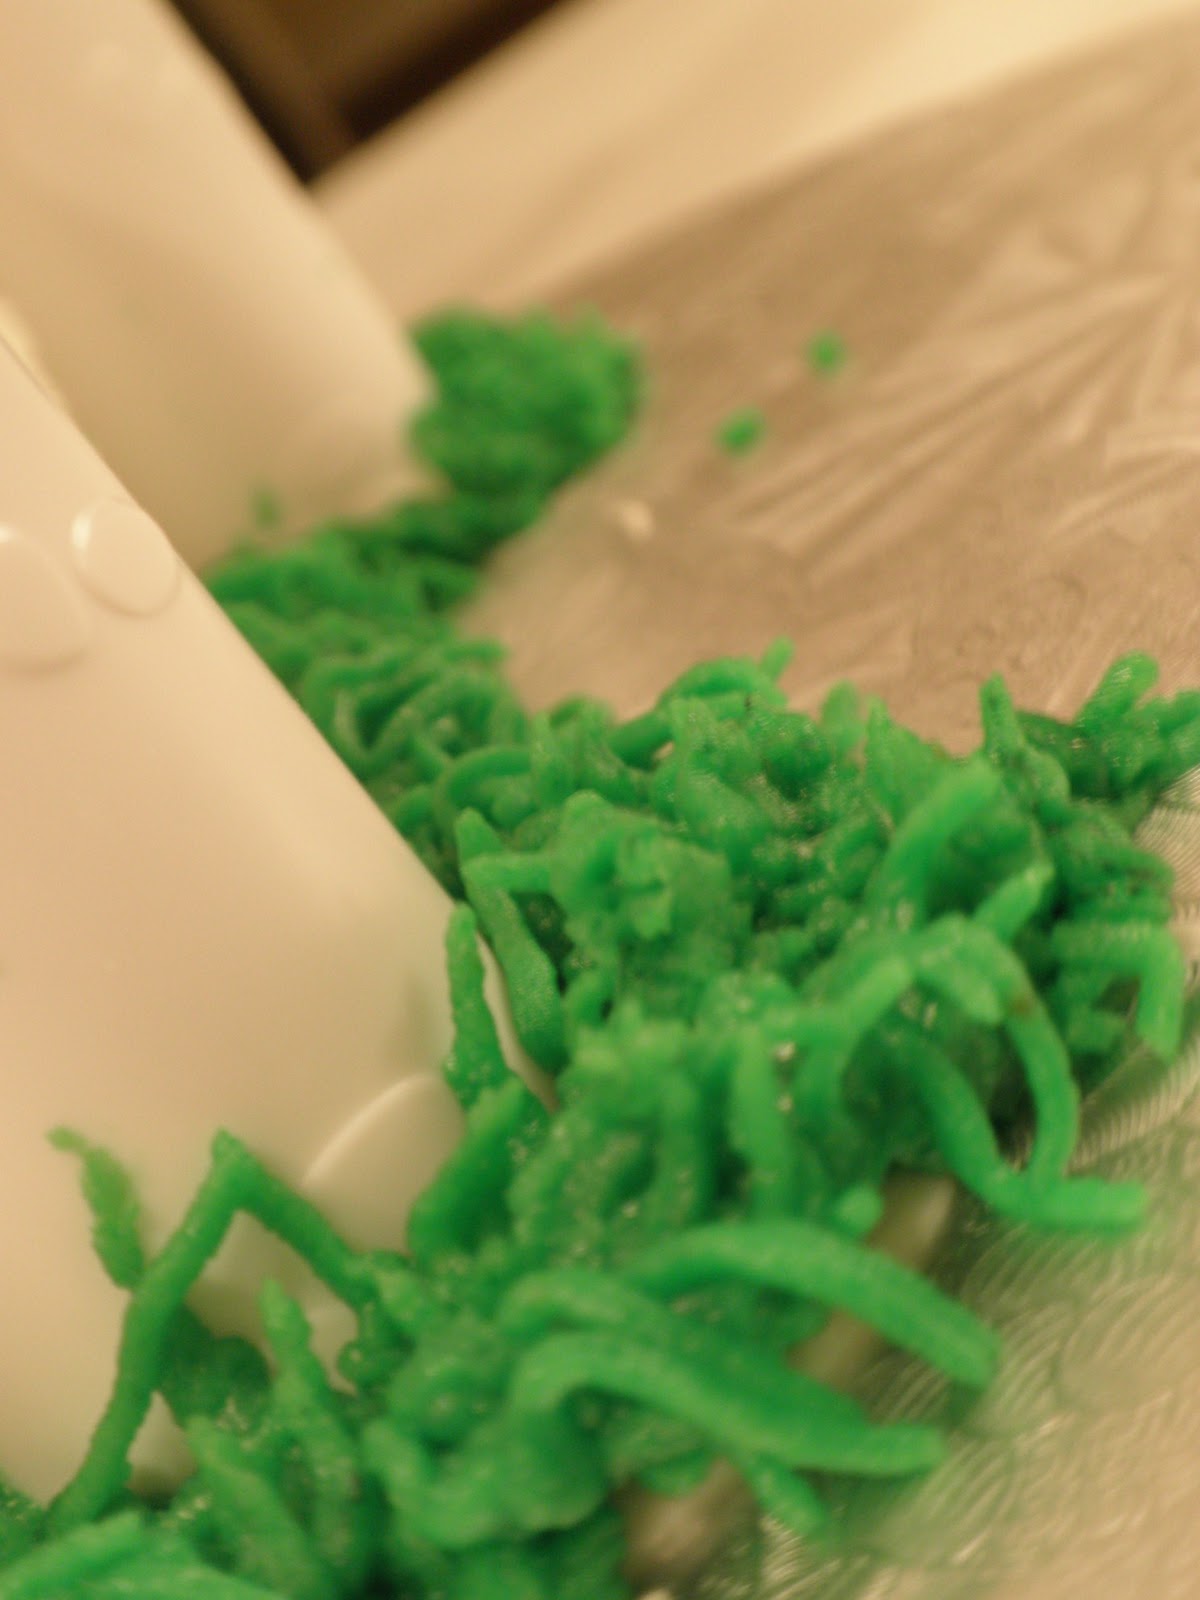
| JJ did the grass and it looks awesome! Had NO clue you could get icing to do that!! |
|
 |
| The finished product!! Not too shabby for a non-cake-maker eh!? {Yep, Canadian and PROUD of it!} |
|
Here's a few other angles and shots of it.
 |
| Back |
 |
| 10 towers for 10 kiddies at her party! Yep, each kiddies gets to eat a cone! {insert evil sugar endued laugh here} |
I hope you've enjoyed my journey! It wasn't all that hard, but a little time consuming. But with the right tools {and the right help!} you can pretty much accomplish anything!
Chrissy


Omg chrissy! It looks beautiful! Excellent job! :-)
ReplyDelete