So, here's E's finished blanket:

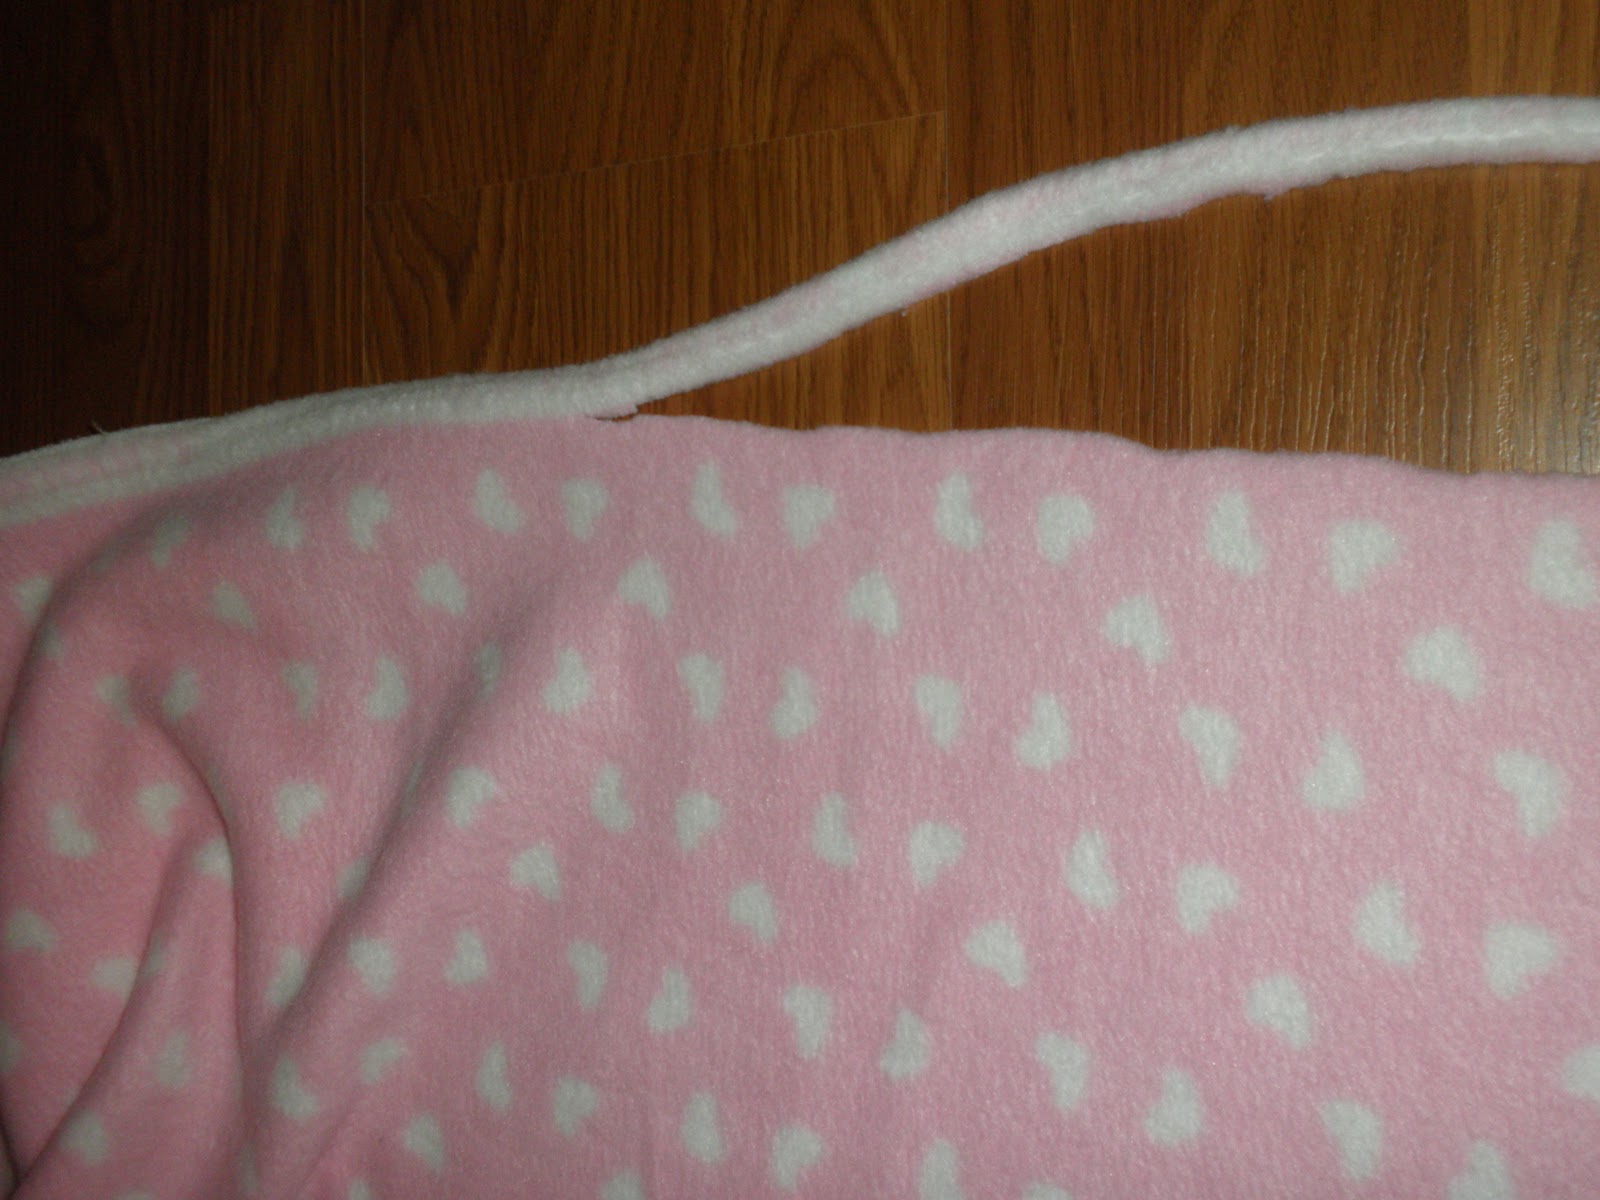
So first what you need to do is lay your fabrics on top of each other {wrong sides together} and trim the edges so they are pretty much even. {Yes, I realize mine doesn't look very even. Clearly my eyes are crooked.}
Make a 5" square template from some cardboard or something sturdy. {I think I did 4" on E's and 5" on H & J's blankets.} Put the template on the corner of the blanket and cut the square out as shown in the picture. You are going to do this on all four sides of the blanket.


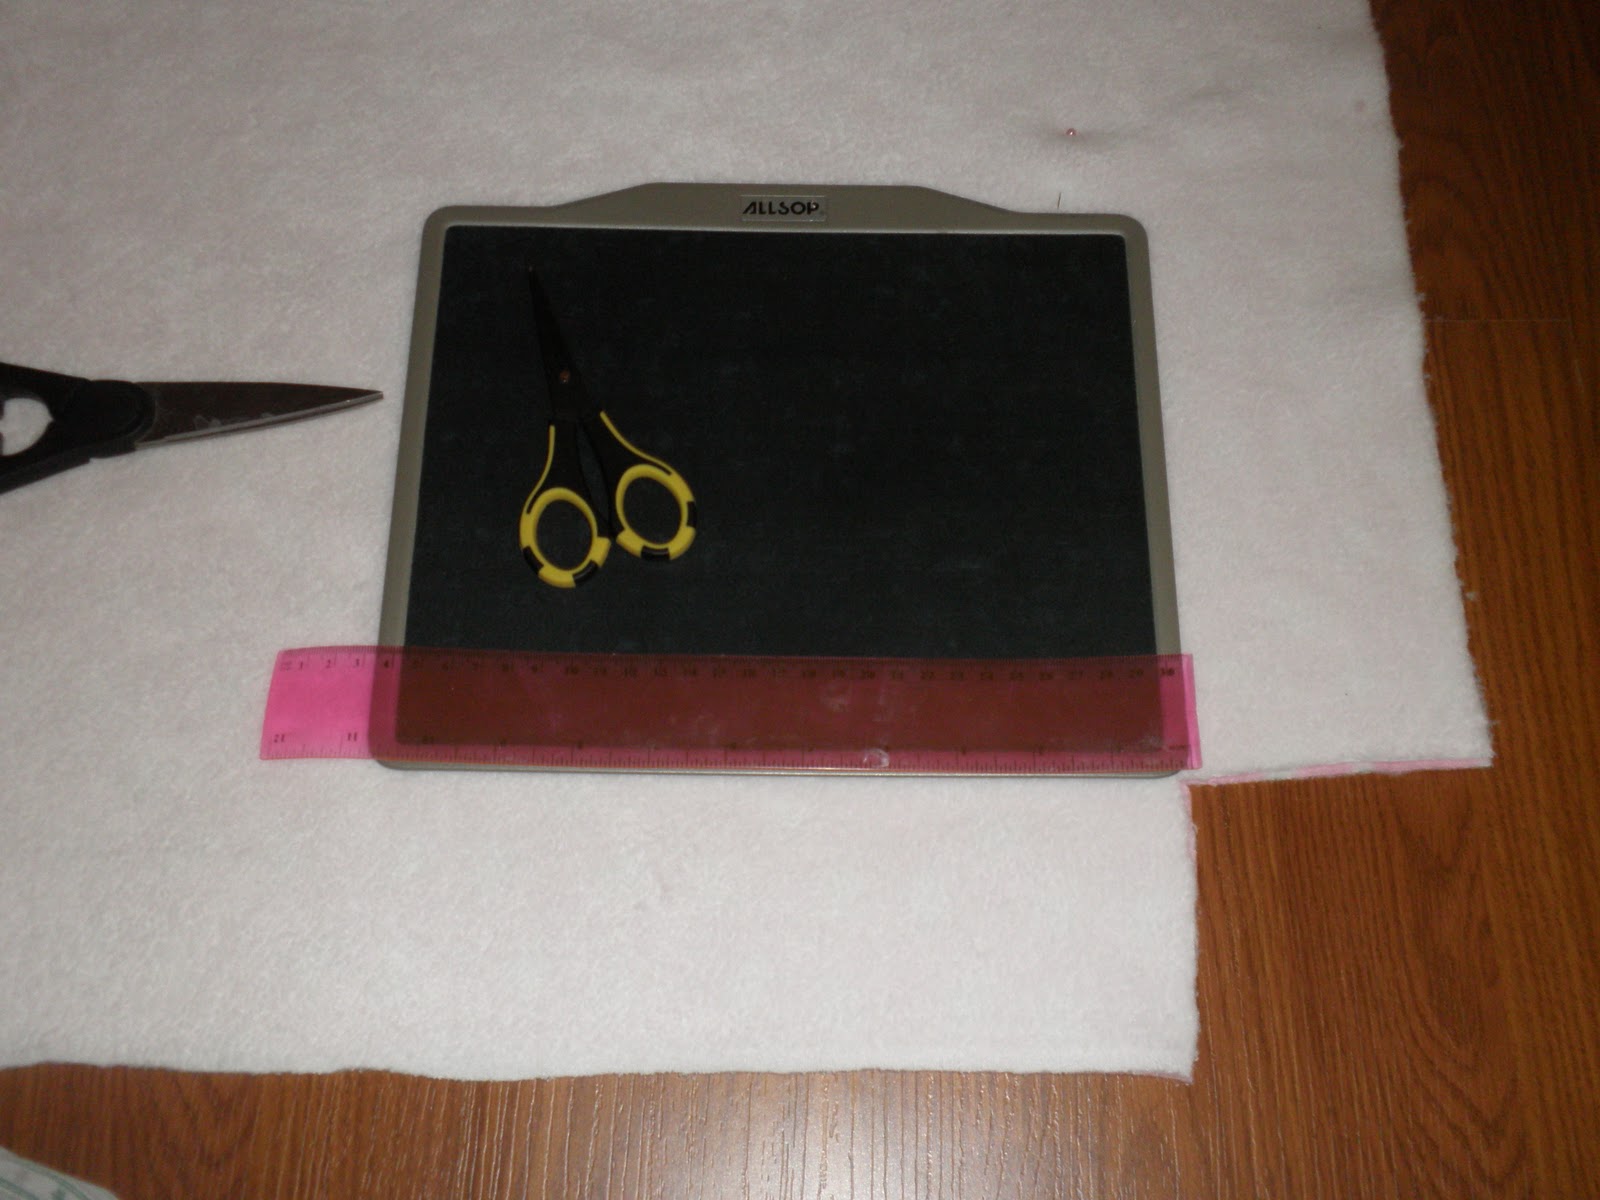
Next take something heavy or something you can use as a guide and place it along the top where your 5" cut is. {This is so you don't cut deeper than the 5".} Lay a ruler on top or below your fabric and cut 1" from the end of the fabric. You can also just use the aprox width of your thumb, which is what I did on the other two blankets.

Cut "fringes" every inch or so all the way around your blanket.

Next comes the

Once they are all tied, you're done!


Enjoy your new blanket! My girls love theirs! They are both into Care Bears right now, so I chose the same pattern for the tops, and pink for H's bottom and purple for J's bottom {to match their bedrooms.} Sorry for the low quality pics. I took them right before wrapping them up for Christmas.


I think I need to make one for the living room because it's a wee bit chilly at night and I like to lounge on the couch while watching tv once the girlies go to bed.
Happy blanket making! It's easy to make and would be a good gift for kids too!
~Chrissy~
No comments:
Post a Comment