Now I'm going to show you my process. It turned out WAY better then I thought! {Considering I can't draw a straight line... but then again, art doesn't have to be all straight lines... no?}
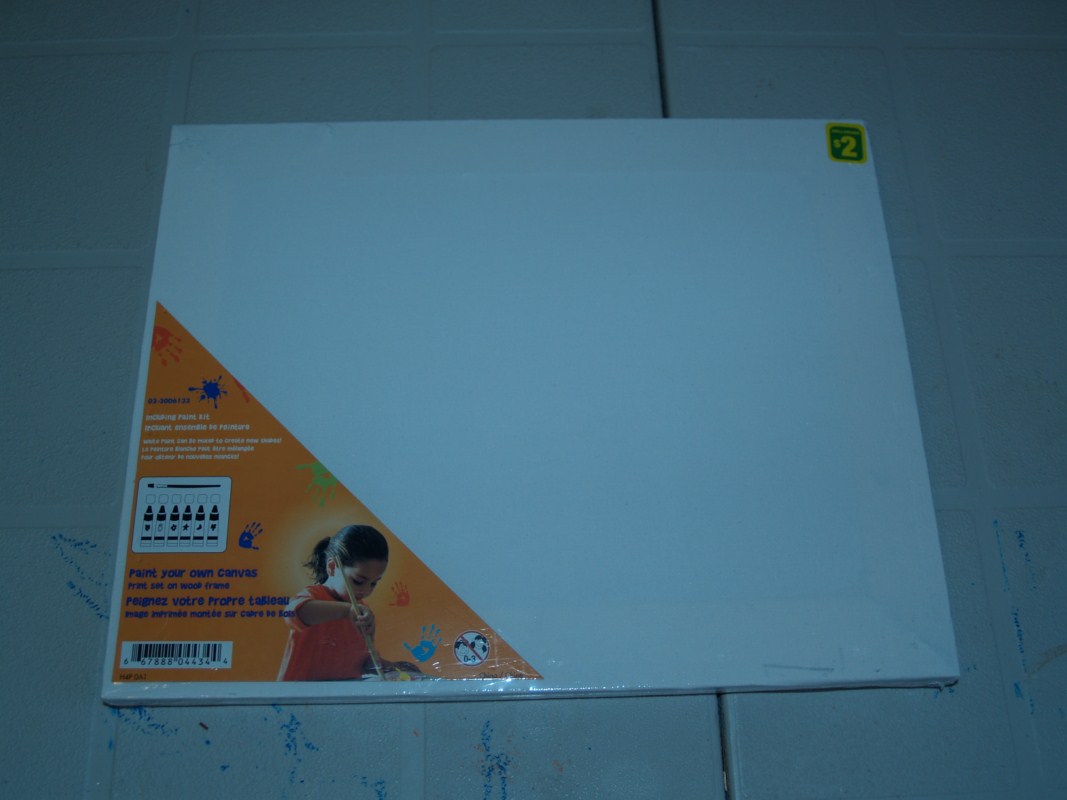
H, J & I headed to one of our fav store's again... the dollar store! We bought some canvas, acrylic paints and a few brushes to add to our ever growing collection.

They only had chisel tipped foam brushes, so I used my scrapbooking scissors to {attempt} to make a rounded edge. It really wasn't all that successful, so just ended up using a regular more fine tip brush.
I started out by drawing some brown lines for the tree trunks.

Next I added round circles of various colours and sized all over the canvas.
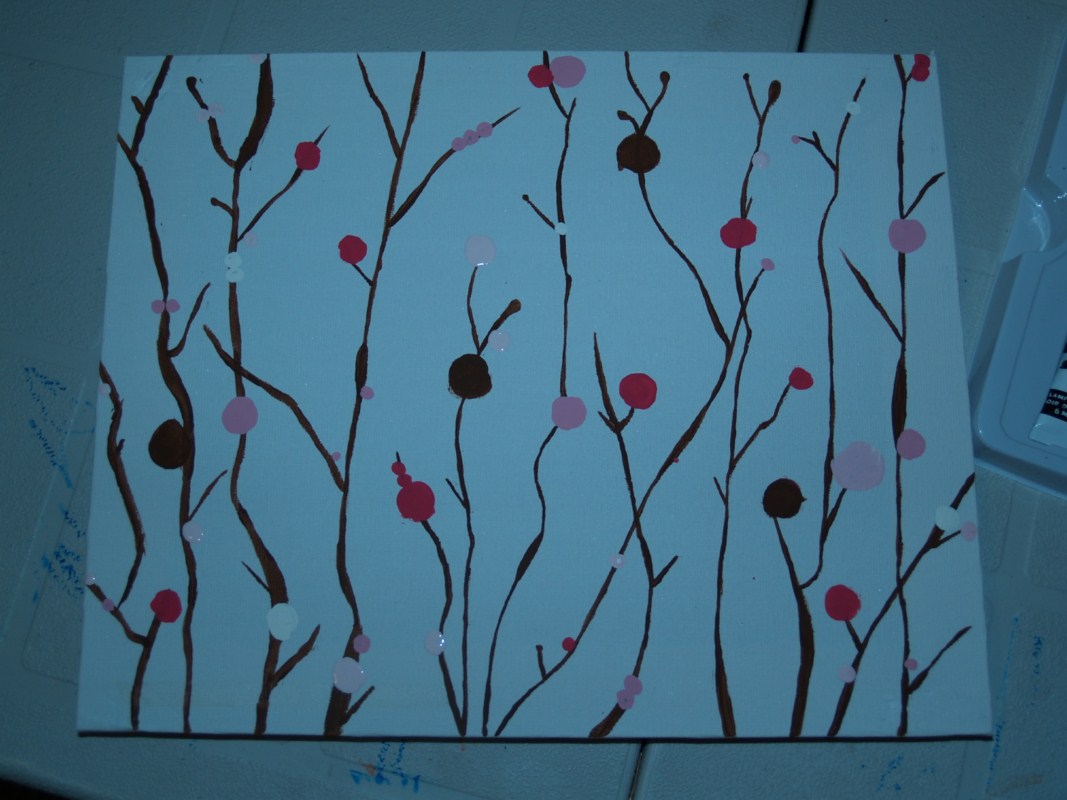
Then I simply added more dots until I was satisfied with the amount of circles. I also added a couple of extra branches here and there if I thought there was a spot that needed to be filled.

That's it!! That's how easy it was! H really likes her new painting, but it's actually too small for her room! Sooooo, I went out to Michael's {who was having a sale on canvas last week} and I bought a two pack! Now I can re-do this one {bigger} for H's room and then do it again {in different colours} for J's room! {Yes, I'm excited, and if you haven't already noticed... I use a LOT of exclamation marks! haha.}
Be sure to check out the original post to see all of her step by step instructions. Her's are also done in "boy" colours, so you can see a different approach. If you do this, please feel free to send me a link or a picture so I can see what you came up with!
Enjoy!
Chrissy
CUTE!!!!
ReplyDelete